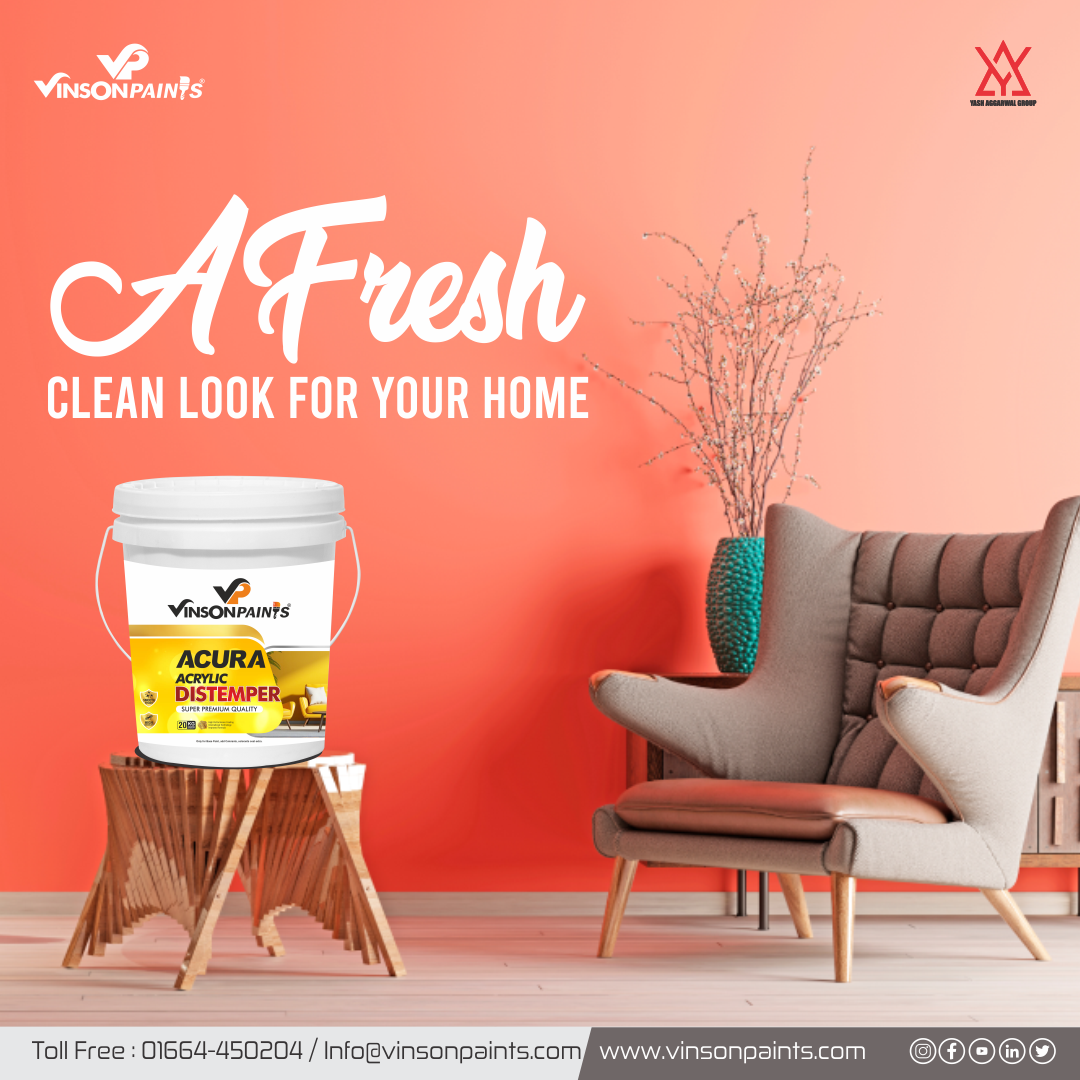
A Complete Guide to Revamping Your Space: Painting Tiles and Wooden Walls Like a Pro
Introduction: Revamping your space doesn’t always have to involve major renovations or costly overhauls. Sometimes, a simple coat of paint can work wonders. In this guide, we'll explore how to expertly paint both tiles and wooden walls to give your space a brand-new vibe without breaking the bank.
Section 1: Preparing the Surface
- Assessing and Cleaning:
- Inspect the tiles or wooden walls for any damage, cracks, or rough spots. Repair and sand them down if necessary.
- Clean the surface thoroughly to remove dirt, grease, and any residue. Use appropriate cleaners and allow the surface to dry completely.
Section 2: Painting Tiles
- Choosing the Right Paint:
- Opt for paints specifically designed for tiles, such as epoxy or enamel paints. These are durable and made for high-moisture areas like bathrooms and kitchens.
- Priming the Tiles:
- Apply a suitable primer to ensure better adhesion of the paint to the tiles. Use a bonding primer for the best results.
- Painting Technique:
- Use a small foam roller or a brush to apply the paint evenly. Multiple thin coats are better than one thick coat to prevent drips and achieve a smoother finish.
- Sealing the Paint:
- Once the paint has dried completely, seal the tiles with a clear, waterproof sealant for added protection and longevity.
Section 3: Painting Wooden Walls
-
Choosing Paint for Wood:
- Select paint formulated for wooden surfaces. Consider the finish you desire—matte, satin, or glossy—and choose accordingly.
-
Prepping Wooden Walls:
- Sand the walls lightly to create a smooth surface. Wipe away any dust with a tack cloth or a damp cloth.
-
Applying Primer:
- Use a quality primer suitable for wood to ensure the paint adheres well and to prevent bleeding of wood tannins.
-
Painting Technique:
- Start by cutting in along the edges with a brush, then use a roller for larger areas. Apply multiple thin coats for a professional finish.
-
Finishing Touches:
- Allow the paint to dry completely between coats. Sand lightly between coats if needed for a smoother finish.
Section 4: Tips and Tricks
- Ventilation and Safety:
- Ensure proper ventilation when painting. Use a mask, gloves, and protective eyewear as needed.
- Test Before Full Application:
- Always test the paint and techniques on a small, inconspicuous area before applying it to the entire surface.
Conclusion: Revamping your space by painting tiles and wooden walls can be a rewarding and cost-effective way to breathe new life into your home. With proper preparation, the right materials, and attention to detail, you can achieve a professional finish that transforms your space into something truly special.
Remember, the key to success is patience and meticulousness. Happy painting!


